Docusaurusをインストールして使ってみた
はじめに
本ブログはHugoで作成を行っていますが、他のサイトジェネレーターも試してみようと思いDocusaurusをインストールして使ってみたのでそのメモです。
Docusaurusとは
DocusaurusはReactとMarkdownを使用して、カスタマイズしやすいドキュメンテーションサイトを作成するためのフレームワークです。
Meta(旧Facebook)が開発したオープンソースのドキュメンテーションツールで、主に静的ウェブサイトの構築に使用されます。
Docusaurusの必要条件
- Node.js version 18.0以上
Docusaurusのインストール
Node.jsをインストールし、以下のコマンドを実行します。
npx create-docusaurus@latest my-website classic
> npx create-docusaurus@latest my-website classic
Need to install the following packages:
[email protected]
Ok to proceed? (y) y
[INFO] Creating new Docusaurus project...
[INFO] Installing dependencies with npm...
[SUCCESS] Created my-website.
[INFO] Inside that directory, you can run several commands:

  `npm start`
    Starts the development server.

  `npm run build`
    Bundles your website into static files for production.

  `npm run serve`
    Serves the built website locally.

  `npm run deploy`
    Publishes the website to GitHub pages.

We recommend that you begin by typing:

  `cd my-website`
  `npm start`

Happy building awesome websites!
Docusaurusの起動
インストール完了後、以下のコマンドでサイトを起動します。
cd my-website
npx docusaurus start
> cd my-website
> npx docusaurus start
[INFO] Starting the development server...
[SUCCESS] Docusaurus website is running at: http://localhost:3000/

√ Client
  Compiled successfully in 39.58s

client (webpack 5.90.1) compiled successfully
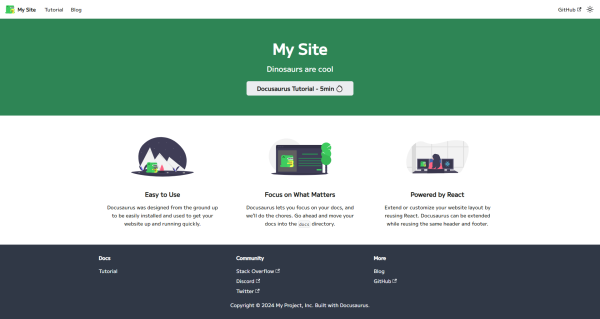
サイト起動後、ブラウザで「http://localhost:3000」を開くとページが表示されます。
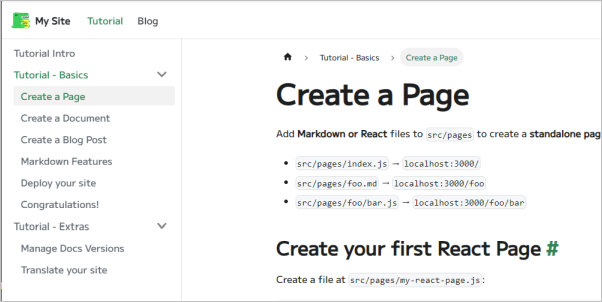
サイト内にチュートリアルがあり、ページの追加方法や設定などの解説が記載されています。
あとがき
詳細な使い方については、もう少し試してみて別途記事にしたいと思います。